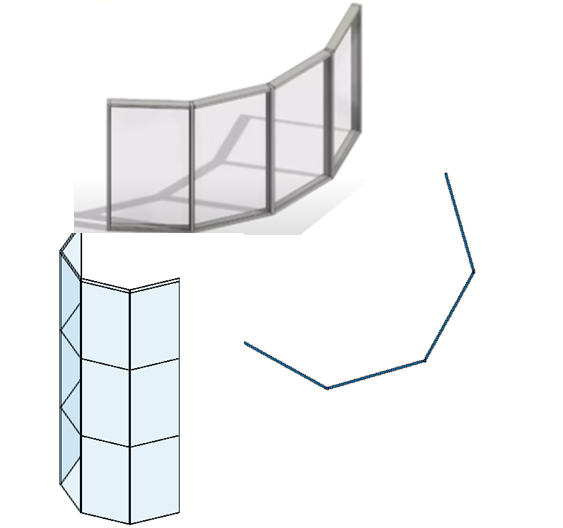
Create Curtain Wall curved segment
- File – Architecture Tab – Wall under Build Panel- Wall: Architectural
- Under Properties palette select Curtain wall- Storefront
- Use the Modify Tab- Under Draw Panel -use Arc to Place wall.


Create New Wall Type
- File – Architecture Tab – Wall under Build Panel- Wall: Architectural
- Under Properties palette select Basic wall
- Use the Modify Tab- Under Draw Panel -use Line to Place wall.
- Click Edit type in Properties palette
- Duplicate the wall and rename as Glass Panel wall
- Under Structure click Edit
- In Edit Assembly set the Thickness as 20mm
- And Assign Material as Glass.
- Click Edit type in Properties palette
- Duplicate the wall and rename as Glass Panel wall
- Under Structure click Edit
- In Edit Assembly set the Thickness as 20mm
- And Assign Material as Glass.
- Click ok.
- Select the Curtain wall panel
- In the Properties palette click Edit type.
- Under Type properties Edit curtain panel from None to the created wall name Glass Panel wall.
- The profile of the curtain wall changes as shown below.
- Curvature of the panel is corrected but the mullions are not following the curved glass wall profile.
Create Wall Sweep within new wall type:
- Select the Curtain wall panel
- In the Properties palette click Edit type.
- Under Structure click Edit .
- Set Section View of the wall.
- Can click on Sweep to add sweep to the wall.
- Add the default Sweep and click ok.
- It is added to the wall and reflected in the section.


- It is applied to the wall it follows the curvature of the wall.
- But it is too big and does not look like mullions.
- Under Project Browser – Families- Profile- Profile_Reveal_Brick_Course
- Right click on it and Edit it.
- Family profile opens.
- To view the Dimension enable the Visibility graphic (VG).
- Click on Annotation categories – Dimensions (check the box)
- Now you can view the dimension.
- Click Family type
- Create a new Family Type and name as Mullion Sweep type.
- Set the dimension of the Mullions 150x150x50mm
- Insert into the wall should be half of the
- Wall thickness hence 75mm
- Click ok.
- Change Profile usage from Reveal to Wall Sweep.
- Save the family As Wall Sweep Mullion profile.
- Load into project.
- Edit the wall and set the Sweep to the Wall Sweep Mullion profile
- Select the curtain wall and set the Horizontal Mullions to None
Create another Wall Type
- Create another Wall TypeUsing Tab select one panel.
- Right click – Select Panel – Along Horizontal panel.
- Duplicate the Glass panel wall and give a name as Glass panel wall-Top.
- Under Structure of this wall click Edit.


0 Comments